


Connect Google Sheets to your landing pages in LanderLab to automatically send every lead to a spreadsheet. Each form submission adds a new row with the fields you choose, so your lead data is always up to date and ready to use.
What is the Google Sheets Integration?
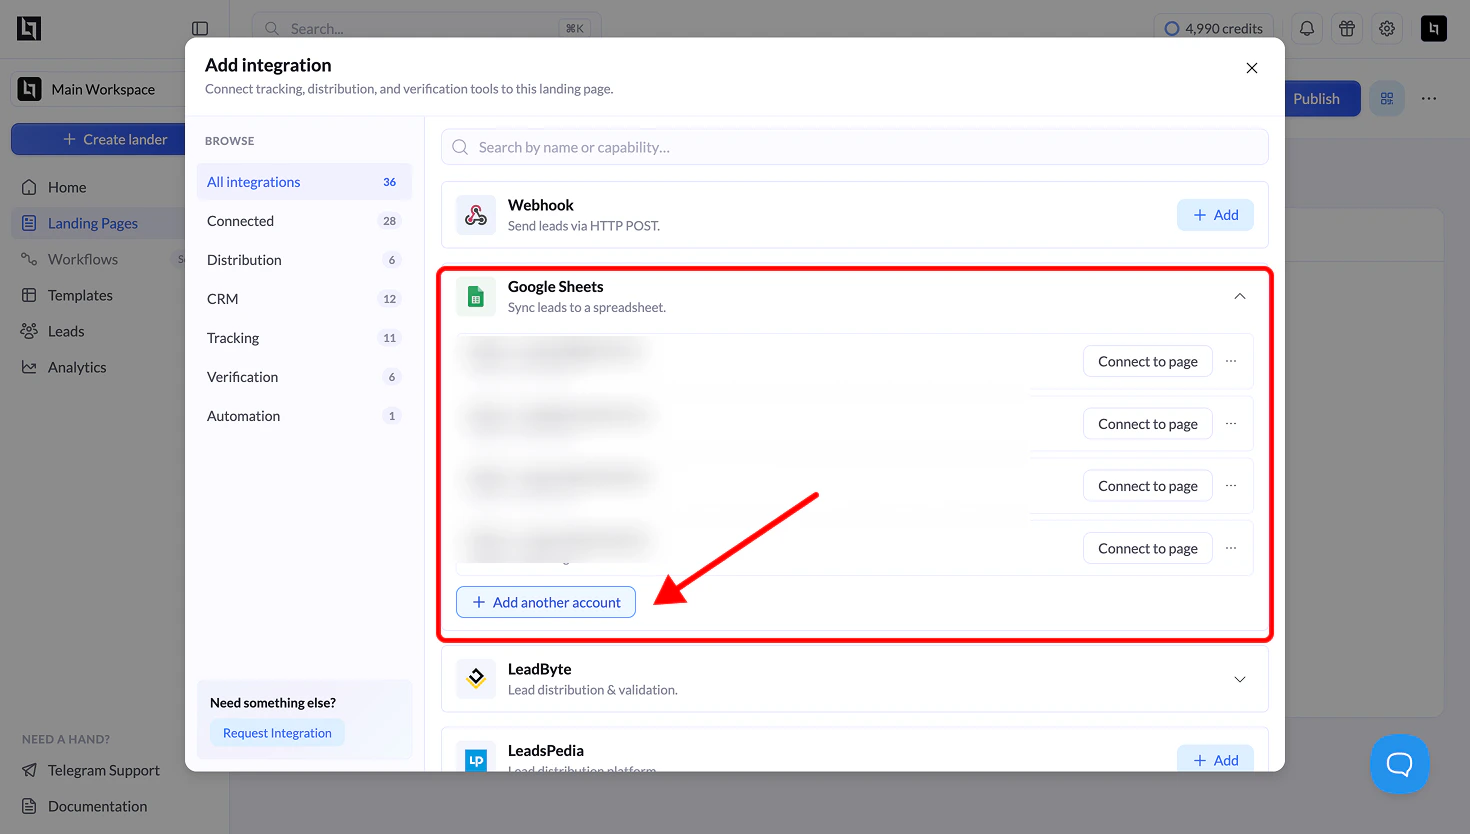
The Google Sheets integration lets you push lead data from your landing pages directly into a Google Sheets spreadsheet. Every time a visitor submits a form on your page, LanderLab appends a new row to the sheet you select. You can map each form field to a specific column, so the data lands exactly where you need it. This is useful when you want a simple, shareable place to collect and review leads without setting up a CRM or building a custom API endpoint. Your team can access the spreadsheet in real time, apply filters, create charts, or export the data for use in other tools. Once you connect a Google account, it is saved globally in your LanderLab account. You can reuse the same account across multiple landing pages without authenticating again.How to Add Google Sheets
The setup walks you through authentication, spreadsheet selection, and field mapping in a single flow.Open the Integrations Panel
Navigate to Landing Pages, then click the name of the landing page where you want to add the integration. Click Add Integration to open the integrations panel.
Authenticate with Google
A Google sign-in window will open. Choose the Google account that owns (or has access to) the spreadsheet you want to use. If you are signed into multiple Google accounts, select the correct one from the list.
Grant Permissions
Google will ask you to confirm that LanderLab can access your Google Drive files. This permission is limited to the specific files you use with the app. Check the box to allow access, then click Continue.
Name the Integration and Select a Spreadsheet
The integration wizard opens at Step 1 with two fields:
Once the spreadsheet is selected, a Sheet dropdown appears. Choose the specific sheet (tab) within the spreadsheet where leads should be written.Click Continue to proceed to field mapping.
| Field | Description |
|---|---|
| Name | A label to identify this integration (auto-filled with your Google account email). You can change it to something descriptive like “Lead Sheet - Campaign A”. |
| Spreadsheet | Click Select Spreadsheet to open the Google Sheets file picker. Browse your folders or use the search bar to find the spreadsheet you want. Click the file to select it, then click Select. |
Map Form Fields to Sheet Columns
In this step, you control which data gets written to your spreadsheet and where it goes. LanderLab displays two columns side by side:
Each field has a checkbox on the left. Uncheck any field you do not want to send to the spreadsheet.Your form fields (such as name, email, phone, or any custom inputs) appear at the top. Below them, you will see the default LanderLab system fields:
Use the Sheet Column dropdown next to each field to pick the matching column header from your spreadsheet. If you select Auto Generate, LanderLab will create a new column using the form field name.Click Continue to finish the setup.
| Column | What It Does |
|---|---|
| Form Field | The data captured from your landing page (form inputs and LanderLab system fields). |
| Sheet Column | The column in your spreadsheet where the data will be written. Select from the dropdown or choose Auto Generate to let LanderLab create the column automatically. |
| System Field | Description |
|---|---|
| LL Lander URL | The full URL of the landing page the visitor was on. |
| LL Visitor IP | The IP address of the visitor. |
| LL Visitor User Agent | The browser and device information of the visitor. |
| LL Submission Time UTC | The date and time the lead was submitted (in UTC). |
| LL Variant ID | The A/B test variant ID the visitor was shown. |