

Add Cloudflare Turnstile to your landing pages in LanderLab to protect your forms from bots and spam submissions, without asking visitors to solve a CAPTCHA puzzle.
What is Cloudflare Turnstile?
Cloudflare Turnstile is a free bot protection tool that replaces traditional CAPTCHA challenges. Instead of asking visitors to identify traffic lights or type distorted text, Turnstile verifies visitors silently in the background using browser signals and behavioral analysis. For most legitimate visitors, Turnstile is completely invisible. Only suspicious traffic gets challenged, which means your forms stay protected without adding friction for real users. LanderLab handles the Turnstile script installation for you. Once the integration is added with your Site Key, Turnstile is automatically active on your landing page forms.Once you add a Turnstile integration, it is saved globally in your account. You can reuse it across multiple landing pages without entering the details again.
Before You Start
Before adding Turnstile in LanderLab, you need to create a Turnstile widget in your Cloudflare account and get your Site Key. This takes about 2 minutes.Log in to Cloudflare
Go to dash.cloudflare.com and log in. If you do not have a Cloudflare account, you can sign up for free at cloudflare.com.
Open Turnstile
In the left sidebar of your Cloudflare dashboard, click Turnstile. This takes you to the Turnstile widget management page.
Create a new widget
Click Add Widget and fill in the following:
Click Create to save the widget.
| Field | What to enter |
|---|---|
| Widget name | A descriptive label for this widget (e.g. “LanderLab Forms”). |
| Hostname | Click Add Hostname and enter your landing page domain (e.g. yourdomain.com, without https:// or www). |
| Widget mode | Choose the mode that fits your setup. See the widget modes explained below. |
Widget Modes Explained
Cloudflare Turnstile offers three widget modes. Choose the one that fits your needs when creating the widget in your Cloudflare dashboard.| Mode | How it works |
|---|---|
| Managed | Cloudflare decides automatically. Most visitors pass silently. Only suspicious traffic sees a challenge. This is the recommended mode for most landing pages. |
| Non-Interactive | Always shows a small visible widget, but visitors do not need to click or interact with it. Useful if you want a visible security indicator. |
| Invisible | Fully silent. No widget is ever shown. Verification happens entirely in the background. |
How to Add Turnstile in LanderLab
Go to your landing page
Navigate to Landing Pages and click the name of the landing page where you want to enable Turnstile bot protection.
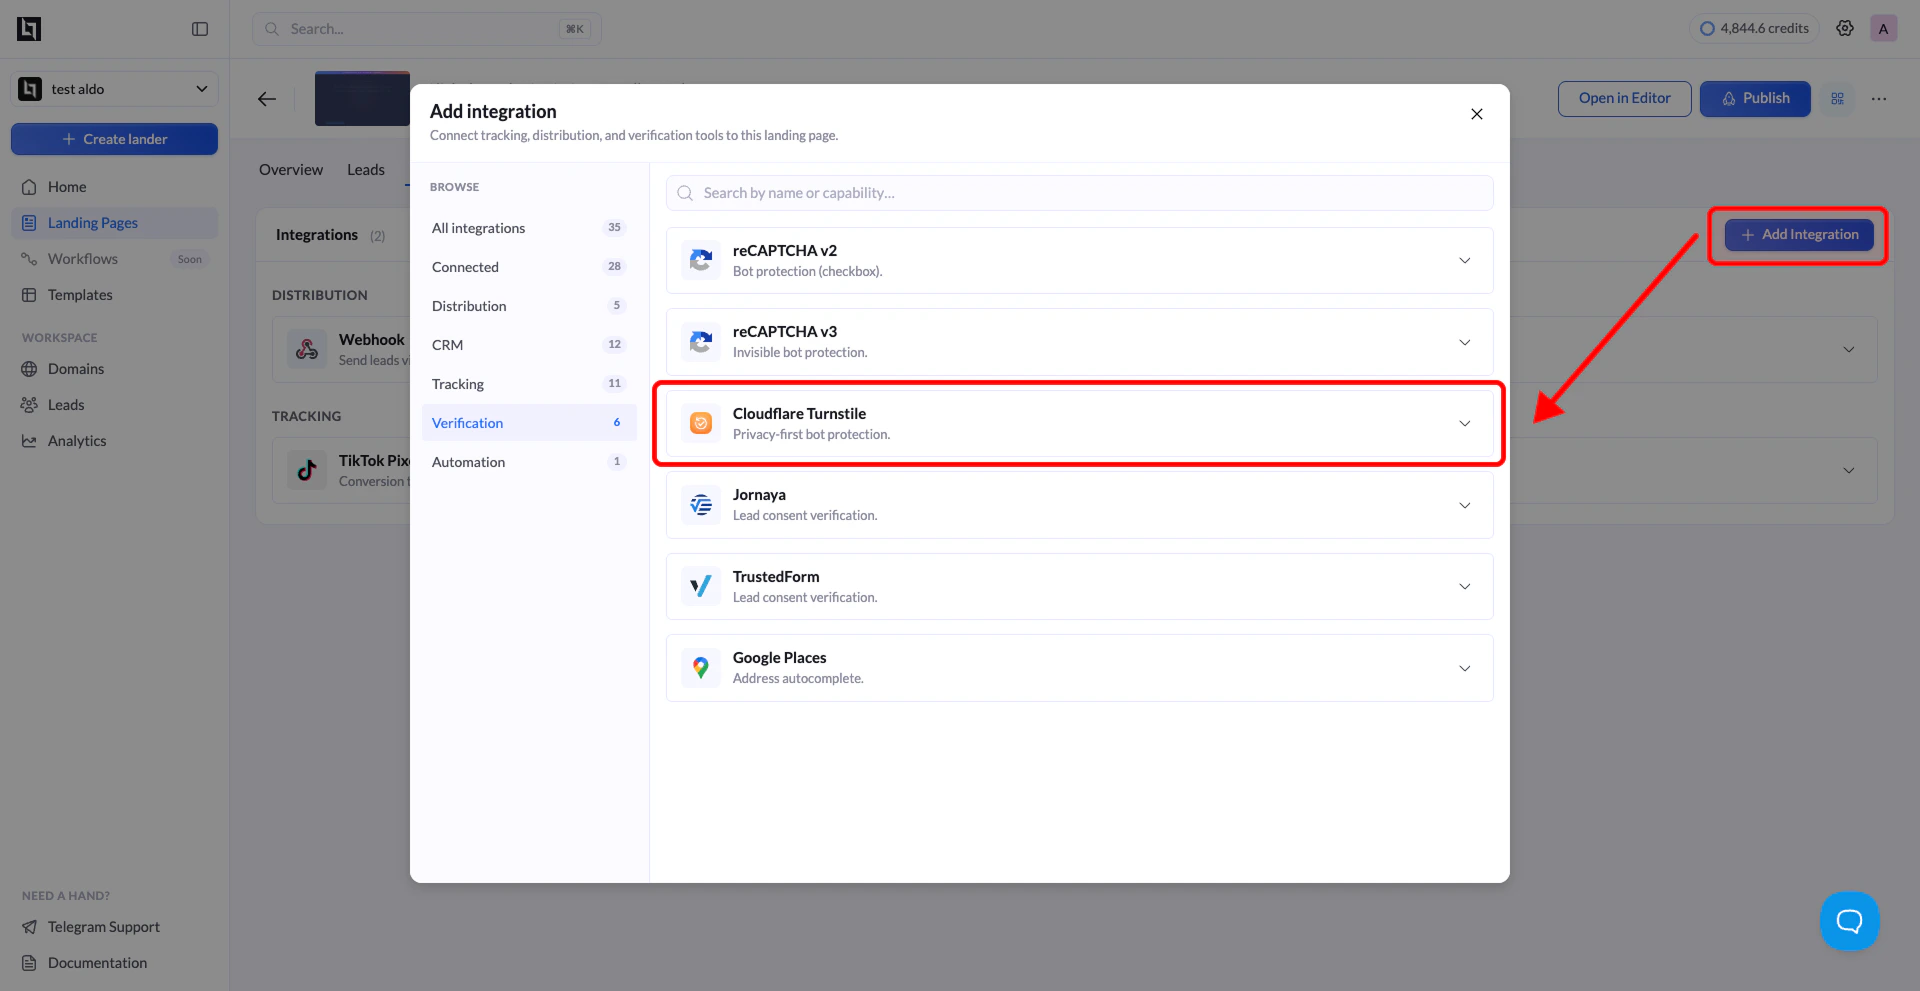
Select Turnstile
From the list of available integrations, find Turnstile (labeled as “Protect your forms from bots with Turnstile”) and click on it. A configuration form will appear.
Fill in the required fields
Enter the following details:
| Field | Description |
|---|---|
| Name | A label to identify this integration (e.g. “Turnstile”). Helps you recognize it when reusing across pages. |
| Site Key | The Site Key from your Cloudflare Turnstile widget (e.g. 0x4AAAAAAA...). Found in your Cloudflare dashboard under Turnstile after creating a widget. |
Click Add Turnstile
Click the Add Turnstile button to save the integration. LanderLab stores this globally, so you can connect it to other landing pages later without re-entering the details.
Connect Turnstile to Another Landing Page
Since Turnstile integrations are saved globally, you do not need to create a new one for every landing page. You can reuse any previously saved integration across multiple pages.Open a different landing page
Go to Landing Pages and click the name of the landing page where you want to use the same Turnstile integration.
Add Integration
Click Add Integration. You will see your previously saved Turnstile configurations listed. Select the one you want to connect.
Select variants (if applicable)
If your landing page has multiple A/B test variants, a modal will appear asking you to choose which variants should use this integration. Select the variants you want and confirm.
The variant selection modal only appears when your landing page has more than one active variant. If there is only one variant, the integration is applied automatically.
How to Verify Turnstile Is Working
Once your landing page is published with Turnstile enabled:- Open the published landing page URL in your browser.
- Submit the form with test data.
- Turnstile will validate the submission automatically in the background.
- Go back to your Cloudflare dashboard.
- Click Turnstile in the sidebar.
- Select your widget.
- Check the Analytics section. You should see Challenges issued and a Likely human percentage after a few test submissions.