

Add Google reCAPTCHA v3 to your landing pages in LanderLab to protect your forms from bots and spam without asking visitors to solve any challenge or click any checkbox.
What is reCAPTCHA v3?
Google reCAPTCHA v3 runs entirely in the background. It analyzes each visitor’s behavior on your page and assigns a score between 0.0 and 1.0, where 1.0 means very likely human and 0.0 means very likely a bot. This score is used to decide whether a form submission should be accepted or blocked. Visitors never see a challenge, a checkbox, or any visible widget. For real users, the experience is completely seamless. Bot submissions are blocked silently. LanderLab handles the reCAPTCHA v3 script installation and server-side token verification for you. Once the integration is added with your Site Key and Secret Key, reCAPTCHA v3 is automatically active on your landing page forms.Once you add a reCAPTCHA v3 integration, it is saved globally in your account. You can reuse it across multiple landing pages without entering the details again.
Before You Start
Before adding reCAPTCHA v3 in LanderLab, you need to register your site in the Google reCAPTCHA Admin Console and get both your Site Key and Secret Key. This takes about 2 minutes.Go to the reCAPTCHA Admin Console
Open the Google reCAPTCHA Admin Console and sign in with your Google account.
Register a new site
Click the + button (or Create) to register a new site. Fill in the following:
| Field | What to enter |
|---|---|
| Label | A name to identify this key (e.g. “LanderLab - reCAPTCHA v3”). |
| reCAPTCHA type | Select Score based (v3). |
| Domains | Enter your landing page domain (e.g. yourdomain.com, without https:// or www). |
Copy both keys
After submitting, Google will display your Site Key and Secret Key. Copy both. You will need both to add reCAPTCHA v3 in LanderLab.
| Key | What it does |
|---|---|
| Site Key | Loaded on your page to run the reCAPTCHA challenge in the visitor’s browser. This is a public key. |
| Secret Key | Used on the server side to verify the visitor’s token with Google. This is a private key - keep it secure. |
How to Add reCAPTCHA v3 in LanderLab
Go to your landing page
Navigate to Landing Pages and click the name of the landing page where you want to enable reCAPTCHA v3 protection.
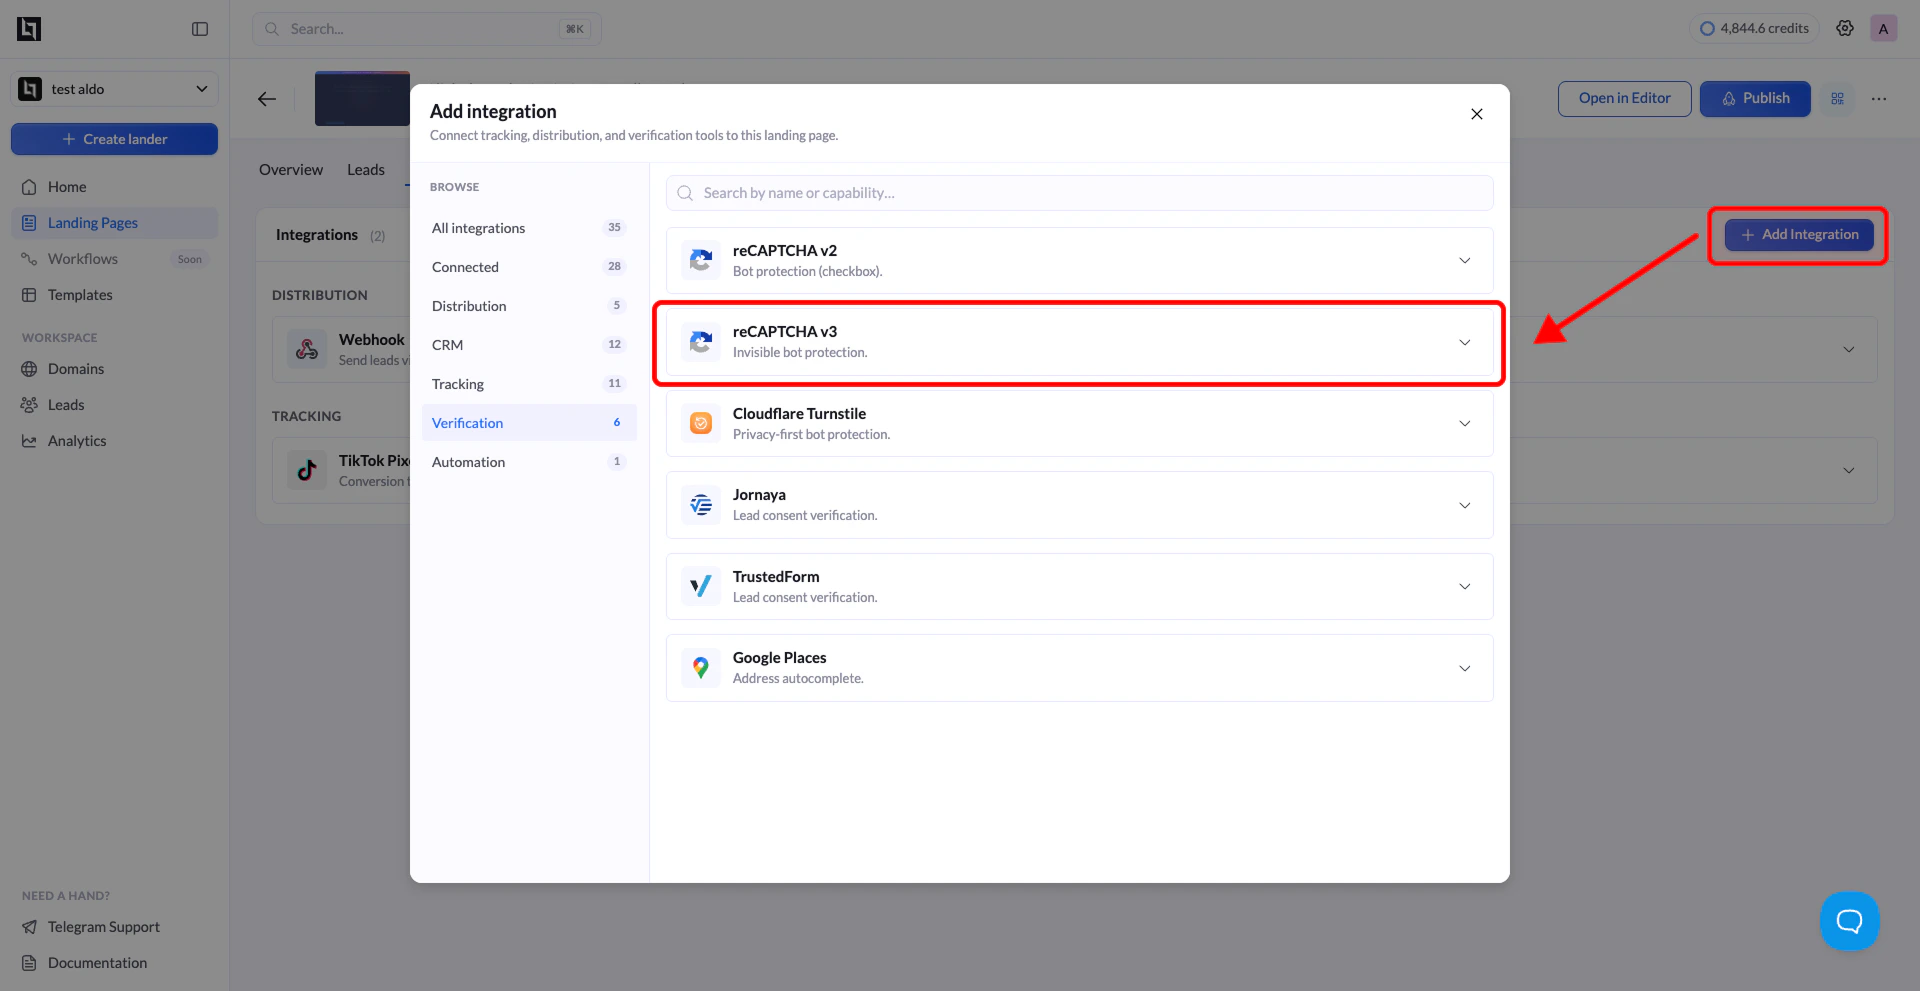
Select reCAPTCHA v3
From the list of available integrations, find reCAPTCHA v3 (labeled as “Protect your forms from bots with reCAPTCHA v3”) and click on it. A configuration form will appear.
Fill in the required fields
Enter the following details:
| Field | Description |
|---|---|
| Name | A label to identify this integration (e.g. “reCAPTCHA v3”). Helps you recognize it when reusing across pages. |
| Site Key | The public Site Key from your Google reCAPTCHA registration (e.g. 6LcX...). |
| Secret Key | The private Secret Key from your Google reCAPTCHA registration (e.g. 6LcX...). Used for server-side token verification. |
Click Add reCAPTCHA v3
Click the Add reCAPTCHA v3 button to save the integration. LanderLab stores this globally, so you can connect it to other landing pages later without re-entering the details.
Connect reCAPTCHA v3 to Another Landing Page
Since reCAPTCHA v3 integrations are saved globally, you do not need to create a new one for every landing page.Open a different landing page
Go to Landing Pages and click the name of the landing page where you want to use the same reCAPTCHA v3 integration.
Add Integration
Click Add Integration. You will see your previously saved reCAPTCHA v3 configurations listed. Select the one you want to connect.
Select variants (if applicable)
If your landing page has multiple A/B test variants, a modal will appear asking you to choose which variants should use this integration. Select the variants you want and confirm.
The variant selection modal only appears when your landing page has more than one active variant. If there is only one variant, the integration is applied automatically.
reCAPTCHA v2 vs. reCAPTCHA v3
Not sure which version to use? Here is a quick comparison:| Feature | reCAPTCHA v2 | reCAPTCHA v3 |
|---|---|---|
| Visitor experience | Visible checkbox, may show image puzzles | Fully invisible, no interaction required |
| Fields required | Site Key only | Site Key and Secret Key |
| Widget size options | Normal and Compact | No visible widget |
| Best for | Forms where visible verification is acceptable | Forms where a seamless experience is a priority |
Tips for reCAPTCHA v3
- Make sure your domain matches - The domain you entered in the Google Admin Console must match the domain your landing page is published on. If they do not match, reCAPTCHA will not work correctly.
- Both keys are required - Unlike v2, reCAPTCHA v3 requires both the Site Key and the Secret Key. Make sure you copy both from the Google Admin Console before setting up the integration in LanderLab.
- You will not see a visible widget - reCAPTCHA v3 is fully invisible. If you want confirmation it is working, check your Google reCAPTCHA Admin Console for analytics data after a few test submissions.