How adding a domain works
When you enter a domain, LanderLab checks where it is currently managed and picks one of two connection methods:- Cloudflare manages DNS automatically. If your domain is already in a Cloudflare account you have connected, LanderLab can set everything up for you.
- Manual DNS works with any registrar. You add one DNS record at your provider, and LanderLab verifies it.
Before you start
Make sure the following are true:- You are an admin. Only admins can add domains.
- You own the domain and can access its settings.
- For Manual DNS, you can reach your domain provider’s DNS settings (GoDaddy, Namecheap, and similar).
Add your domain
1
Open Domains
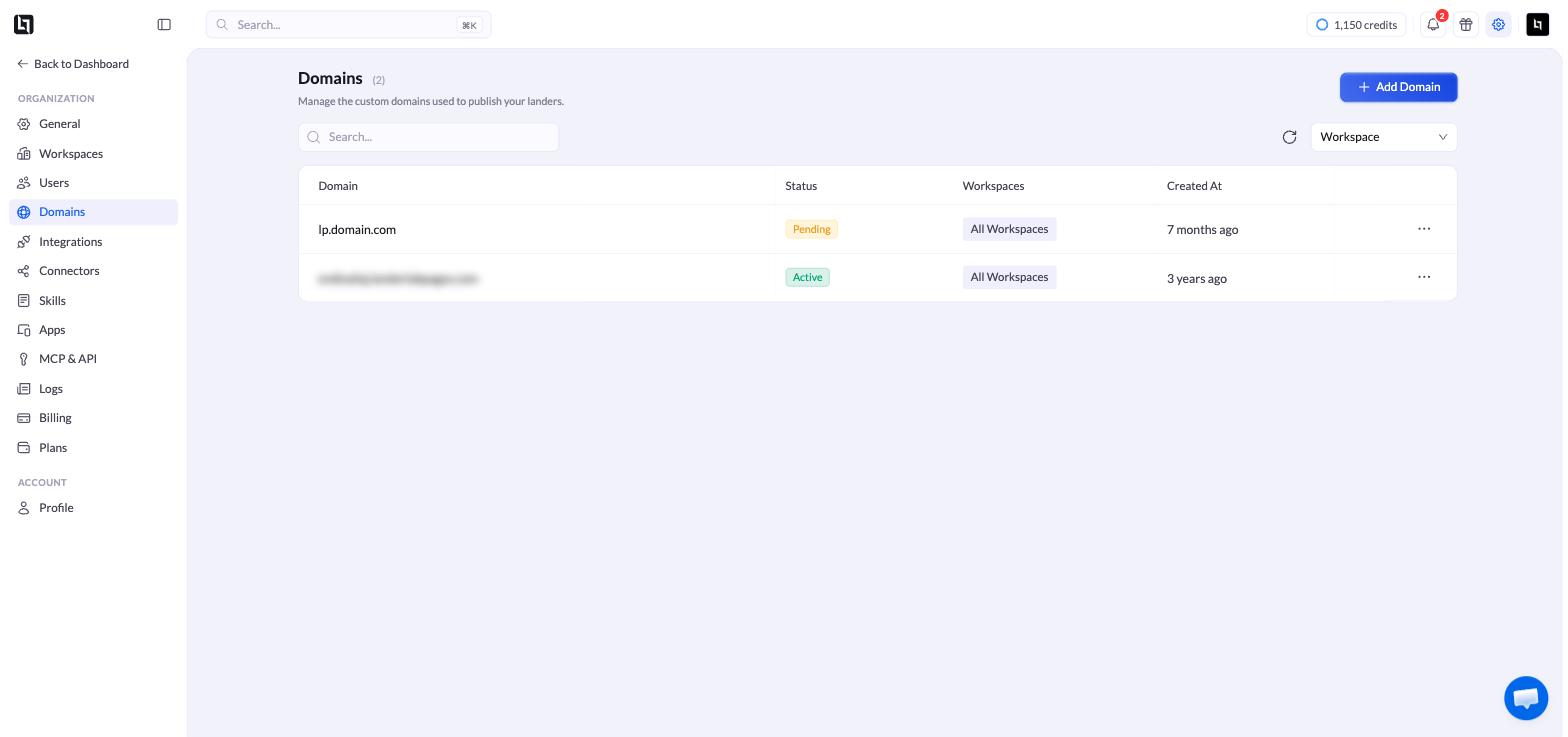
In your LanderLab dashboard, open Settings, then select Domains. You will see your domain list and the option to add a new domain.
2
Choose a workspace and click Add Domain
Use the Workspace selector to choose which workspace can use the domain, then click Add Domain in the top-right corner.
If you do not see the Add Domain button, you likely do not have admin permissions.
3
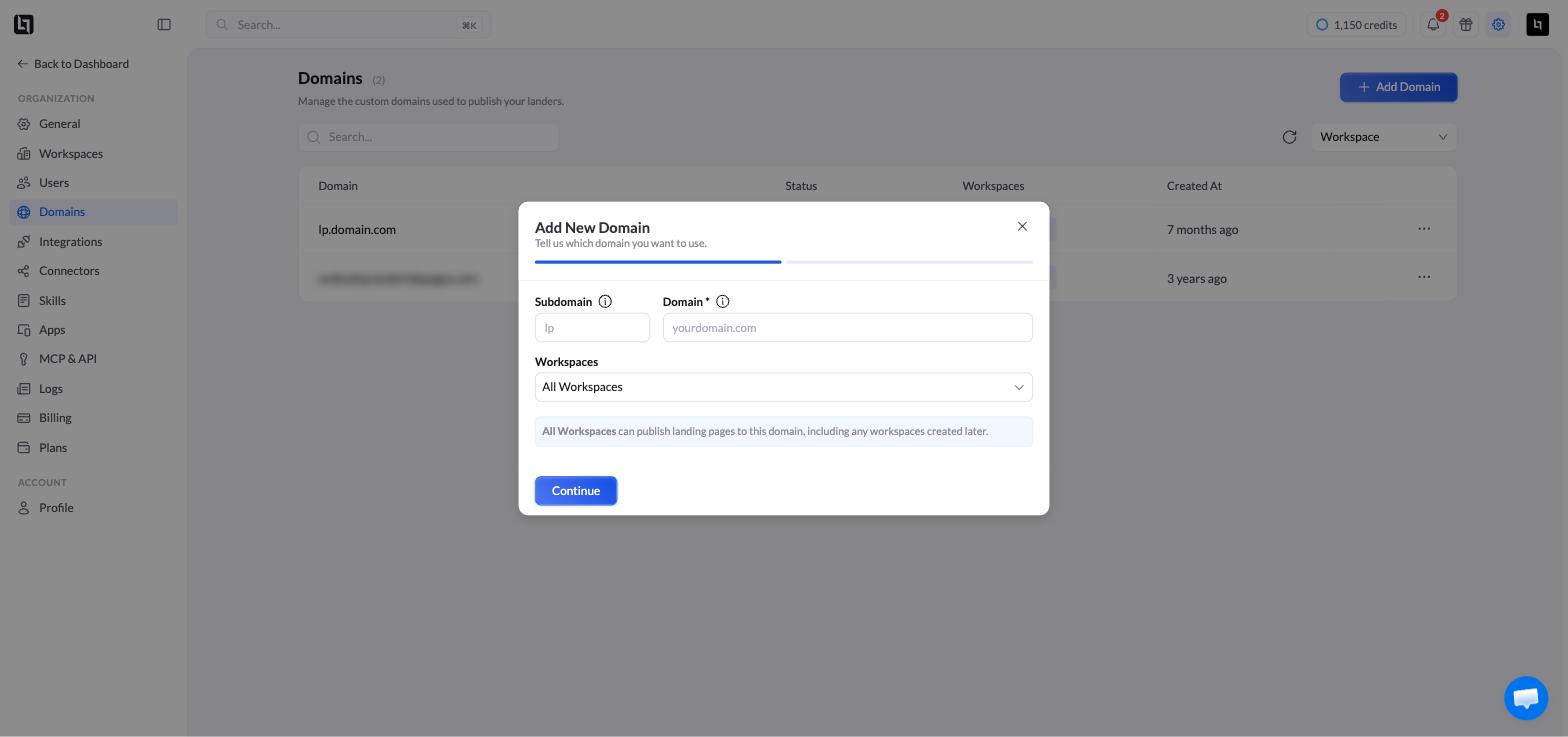
Enter your domain
Type the domain or subdomain you want to use, for example
lp.yourdomain.com. LanderLab checks the domain as soon as you enter it.4
Let LanderLab check your domain
LanderLab looks at where your domain is managed and recommends a connection method. See What LanderLab checks below for the two outcomes.
5
Confirm the connection method
Keep the recommended method or switch between Cloudflare and Manual DNS. When you choose Cloudflare, pick the account from the Cloudflare Account dropdown.
6
Add what LanderLab shows you
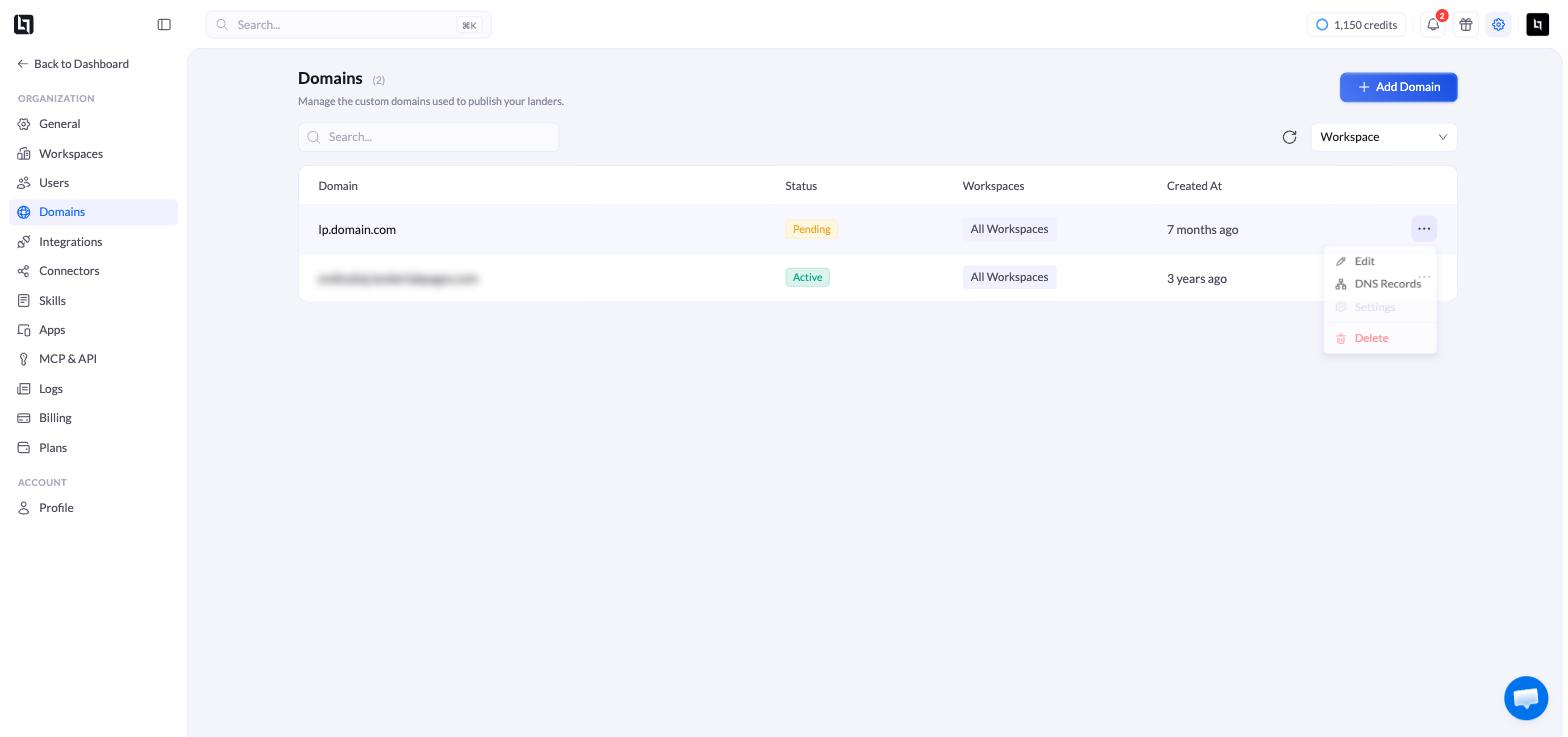
Click Add Domain. LanderLab shows the exact records or nameservers to add, based on the method you picked. Add them at your provider.
7
Wait for Active status
Your domain appears in the list with a Pending status. Once your changes propagate, the status changes to Active and the domain is ready for publishing.
What LanderLab checks
After you enter a domain, LanderLab shows one of two results.The domain is already in your Cloudflare account
If the domain lives in a Cloudflare account you have connected, LanderLab confirms it and shows which account it belongs to. Select that account under Cloudflare Account, then click Add Domain. LanderLab configures DNS automatically, so there is nothing to add at your registrar. If you have not connected that Cloudflare account yet, you can authorize it with a single sign-in. See Connect a Domain with Cloudflare.The domain is managed somewhere else
If the domain is not in Cloudflare, LanderLab activates Manual DNS and shows the provider it detected. You then have two choices:- Add one DNS record at your current provider and keep managing DNS there. See Connect a Domain with Manual DNS.
- Send the domain to Cloudflare so DNS is managed automatically from then on. See Connect a Domain with Cloudflare.
Choose your connection method
Connect with Cloudflare
Authorize Cloudflare once, pick your account, and let LanderLab manage DNS automatically. Recommended for the fastest setup.
Connect with Manual DNS
Keep DNS at your current provider. Add the single record LanderLab shows you, then verify it.
Frequently asked questions
Which method should I use?
Use Cloudflare for the fastest, hands-off setup, especially if your domain is already in a Cloudflare account. Use Manual DNS if your domain is managed elsewhere and you prefer to keep it there.
Can I use my root domain?
Cloudflare supports both root domains and subdomains. Manual DNS usually requires a subdomain such as
lp.yourdomain.com, because some providers do not allow the required record on a root domain. If you need the root domain with Manual DNS, connect through Cloudflare instead.How long until the domain is active?
How long until the domain is active?
DNS changes usually take a few minutes, but can take up to 24 to 48 hours depending on your provider. The status updates to Active automatically once the changes propagate.