

Cases are evaluated top to bottom, and a lead takes the first case it matches. Order your cases from most specific to most general so a broad case doesn’t catch leads meant for a narrower one.
Add the Switch node
Switch lives under the Internal group in the node menu.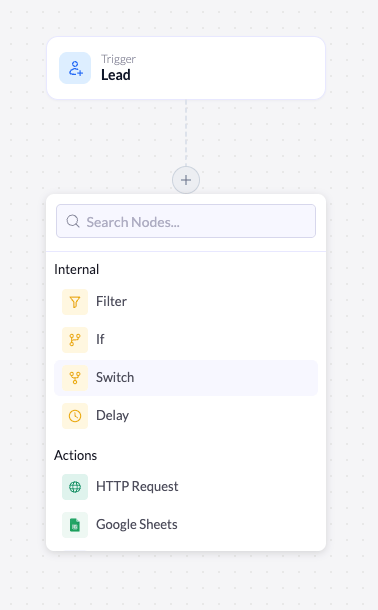
Open the node menu
Click the + below the node where you want the branch to happen (usually right after the trigger).
How cases and the Default branch work
Each case you add becomes its own branch under the Switch node on the canvas. Alongside your cases, the node always has a Default branch.
- Cases - evaluated top to bottom. A lead takes the first case whose conditions it matches.
- Default - the fallback path. A lead that matches no case flows through Default.
Configure the Switch
Selecting the node opens its settings. The header confirms what it does: Route across many branches by conditions.General
| Setting | Description |
|---|---|
| Name | The label for the Switch node on the canvas. Rename it to describe the decision (for example, Route by plan). |
Add and manage cases
In the Cases section, click Add Case to create a case. Each case has:- Name - the label shown on the case’s branch (for example,
Pro plan). Rename it so the canvas stays readable. - Conditions - the rules a lead must match to take this case’s branch.
- Duplicate / delete - use the icons on the case header to copy a case or remove it.
Build a case’s conditions
Inside a case, click Add Condition Group to add your first condition. Conditions work exactly like they do in the Filter and If nodes. Each one has three parts, read left to right: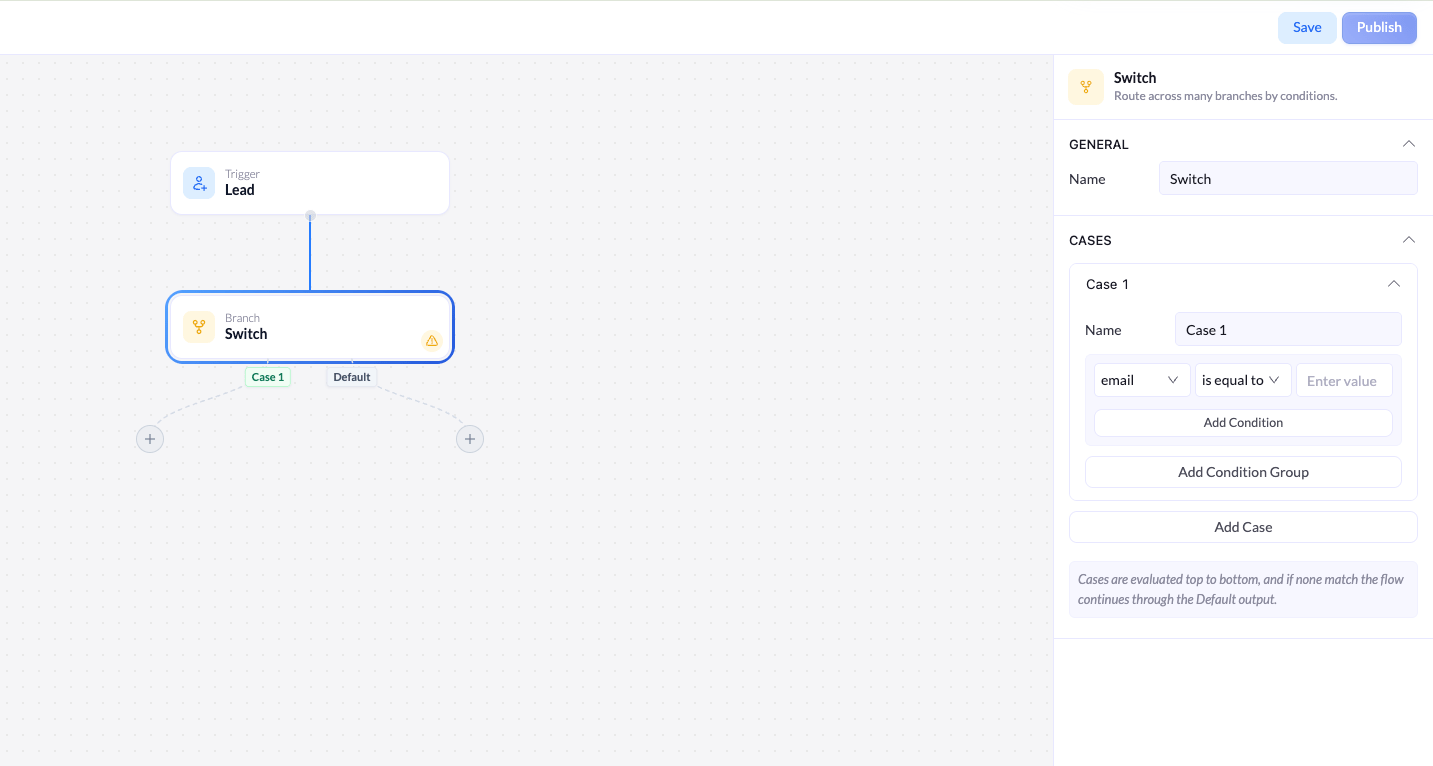
Field
The first dropdown lists the fields captured on your connected landing page - for example, email. Pick the field to check.
Operator
The second dropdown sets how the field is compared - for example, is equal to, contains, greater than, or less than.
Switch vs. If vs. Filter
| Node | Branches | Use when |
|---|---|---|
| Filter | None (pass or stop) | You only want to keep matching leads and drop the rest. |
| If | Two (Yes / No) | You have exactly two outcomes. |
| Switch | Many (one per case + Default) | You need to sort leads into several paths at once. |