> ## Documentation Index
> Fetch the complete documentation index at: https://docs.landerlab.io/llms.txt
> Use this file to discover all available pages before exploring further.
# Send Workflow Leads to Klaviyo
> Learn how to send leads from a LanderLab workflow to Klaviyo. Build a Lead trigger, connect a landing page, add a Klaviyo action, map fields, and publish.
Use a workflow to send every new lead straight to a Klaviyo list. You build a Lead trigger, connect a landing page, add a Klaviyo action, map your fields, then publish. No code required.
## Prerequisites
Before you start, make sure you have:
* A LanderLab account with at least one published landing page
* A Klaviyo integration already connected in LanderLab
* The Klaviyo list you want leads added to
If you have not connected Klaviyo yet, set it up first. See [Connect Klaviyo to LanderLab](/integrations/crm/klaviyo).
## Step 1: Create the Lead trigger
Every workflow starts with a trigger. The Lead trigger fires whenever a new lead is captured.
Create a new workflow and give it a name (for example, "Klaviyo"). The canvas opens with a single **+** button in the center.
Click **+** and select the **Lead** trigger. It is added to the canvas and triggered when a new lead is captured.
 ## Step 2: Connect a landing page
The workflow will not run until a landing page is linked to the Lead trigger.
Click the **Lead** node. Its settings open in the right panel.
Under **Landing Page**, click **Add landing page** and select the page that should trigger this workflow on every new lead.
## Step 2: Connect a landing page
The workflow will not run until a landing page is linked to the Lead trigger.
Click the **Lead** node. Its settings open in the right panel.
Under **Landing Page**, click **Add landing page** and select the page that should trigger this workflow on every new lead.
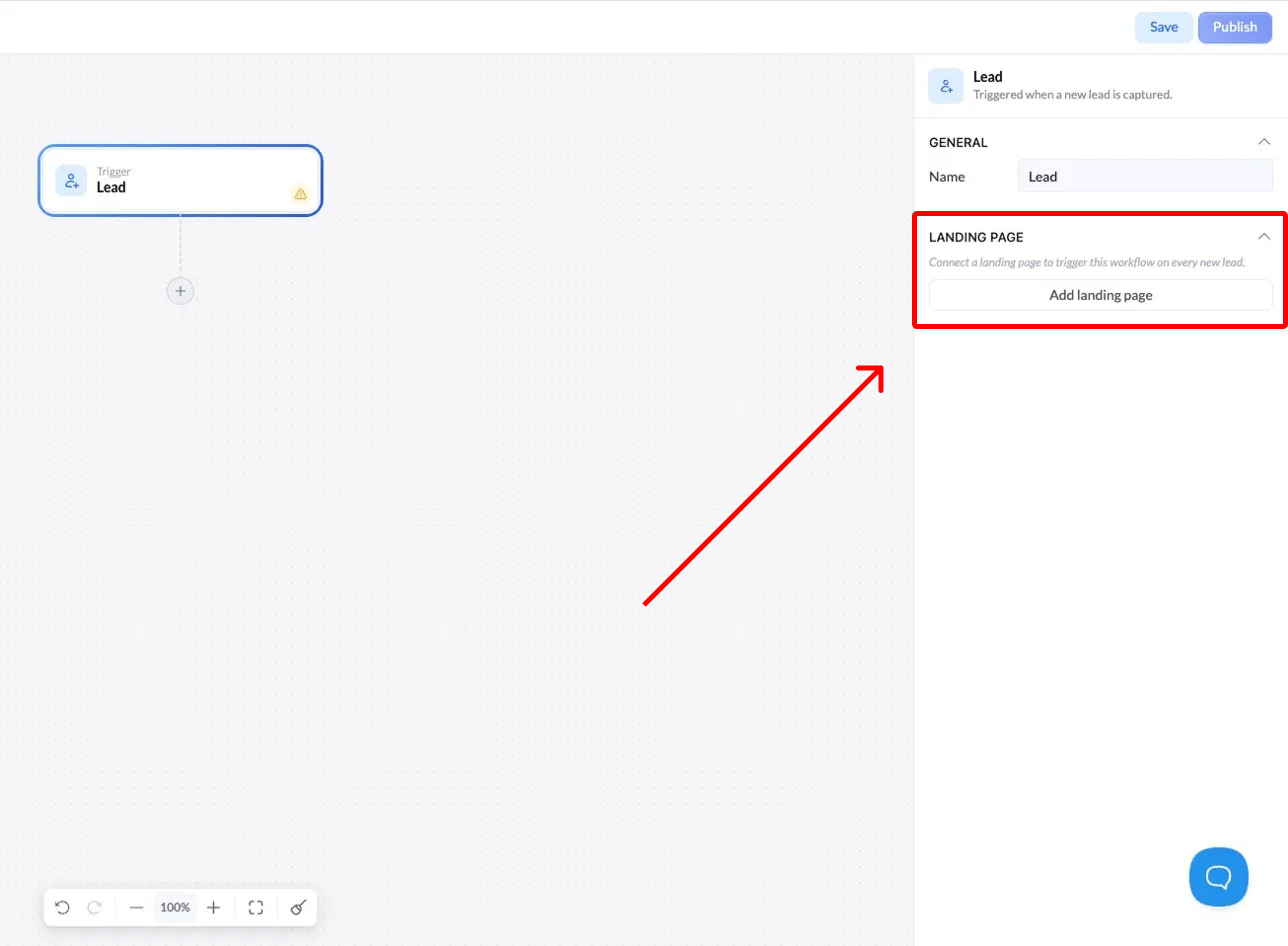 A warning icon stays on the Lead node until a landing page is connected. The workflow cannot run without it.
## Step 3: Add a node after the trigger
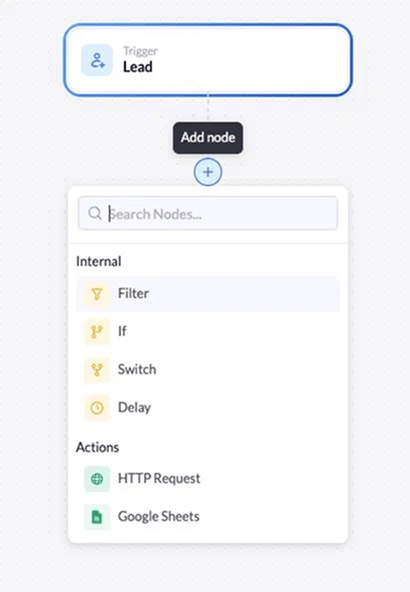
Click the **+** below the Lead node to add the next step. You will see two groups:
* **Internal** nodes for routing logic: Filter, If, Switch, Delay
* **Actions** for sending data out, such as HTTP Request, Google Sheets, and Klaviyo
A warning icon stays on the Lead node until a landing page is connected. The workflow cannot run without it.
## Step 3: Add a node after the trigger
Click the **+** below the Lead node to add the next step. You will see two groups:
* **Internal** nodes for routing logic: Filter, If, Switch, Delay
* **Actions** for sending data out, such as HTTP Request, Google Sheets, and Klaviyo
 You have two common paths from here:
* **Send every lead to Klaviyo:** add the Klaviyo action directly.
* **Send only some leads:** add a **Filter** node first to qualify leads, then add the Klaviyo action after it.
Use a Filter when you only want leads that meet a condition (for example, a specific country or a completed field) to reach Klaviyo. Everything else stops at the filter.
## Step 4: Configure the Klaviyo action
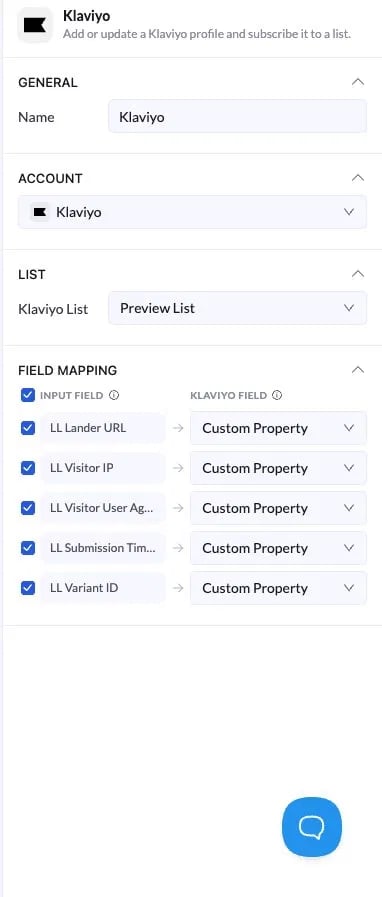
Add the **Klaviyo** action and click it to open its settings in the right panel.
Under **General**, set a **Name** to identify this step on the canvas.
Under **Account**, choose your connected Klaviyo account.
Under **List**, select the Klaviyo list where leads should be added.
Under **Field Mapping**, check the LanderLab fields you want to send and choose the matching Klaviyo field for each one. Default fields include LL Lander URL, LL Visitor IP, LL Visitor User Agent, LL Submission Time, and LL Variant ID. Any custom form fields appear here too.
You have two common paths from here:
* **Send every lead to Klaviyo:** add the Klaviyo action directly.
* **Send only some leads:** add a **Filter** node first to qualify leads, then add the Klaviyo action after it.
Use a Filter when you only want leads that meet a condition (for example, a specific country or a completed field) to reach Klaviyo. Everything else stops at the filter.
## Step 4: Configure the Klaviyo action
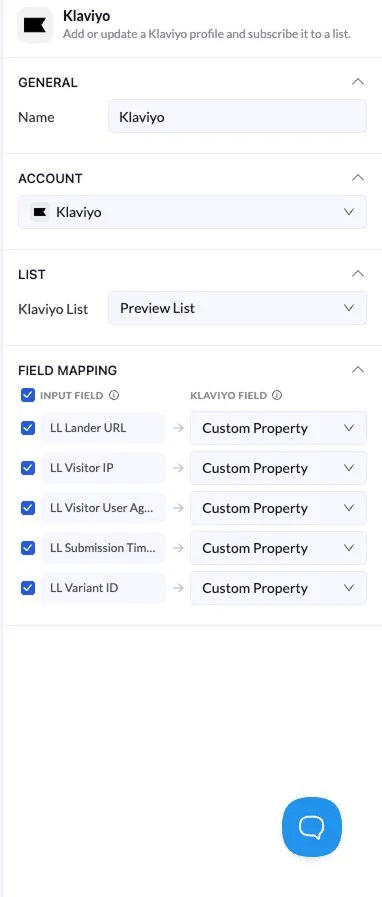
Add the **Klaviyo** action and click it to open its settings in the right panel.
Under **General**, set a **Name** to identify this step on the canvas.
Under **Account**, choose your connected Klaviyo account.
Under **List**, select the Klaviyo list where leads should be added.
Under **Field Mapping**, check the LanderLab fields you want to send and choose the matching Klaviyo field for each one. Default fields include LL Lander URL, LL Visitor IP, LL Visitor User Agent, LL Submission Time, and LL Variant ID. Any custom form fields appear here too.
 Map the email field so each lead becomes a usable Klaviyo profile. Without it, leads cannot be matched to subscribers.
## Step 5: Save and publish
Click **Save** to store your changes, then click **Publish** to make the workflow live.
Once published, every new lead from your connected landing page is sent to your Klaviyo list in real time.
## Troubleshooting
Confirm a landing page is connected in the Lead trigger settings and that the workflow status is Published, not Draft.
Open the Klaviyo action and check that the correct account and list are selected and that at least one field is mapped, including the email field.
This is expected when a Filter node sits before the Klaviyo action. Review the filter conditions to confirm which leads pass through.
Map the email field so each lead becomes a usable Klaviyo profile. Without it, leads cannot be matched to subscribers.
## Step 5: Save and publish
Click **Save** to store your changes, then click **Publish** to make the workflow live.
Once published, every new lead from your connected landing page is sent to your Klaviyo list in real time.
## Troubleshooting
Confirm a landing page is connected in the Lead trigger settings and that the workflow status is Published, not Draft.
Open the Klaviyo action and check that the correct account and list are selected and that at least one field is mapped, including the email field.
This is expected when a Filter node sits before the Klaviyo action. Review the filter conditions to confirm which leads pass through.