> ## Documentation Index
> Fetch the complete documentation index at: https://docs.landerlab.io/llms.txt
> Use this file to discover all available pages before exploring further.
# How to Create a Global Block in LanderLab
> Learn how to create a global block in LanderLab using AI or from scratch, refine it in the editor, then save and publish to reuse it across every landing page.
Global blocks let you build a block once, like a navbar, footer, or CTA, and reuse it across every landing page. You can generate one with AI, pick a preset, or start from scratch, then keep refining it until it is ready to drop anywhere. This guide walks through creating a global block and updating it later.
Global blocks stay connected across pages. When you update a global block, the change applies to every page where it appears. If you need a one-off version for a single page, use a regular saved component instead.
## How to create a global block
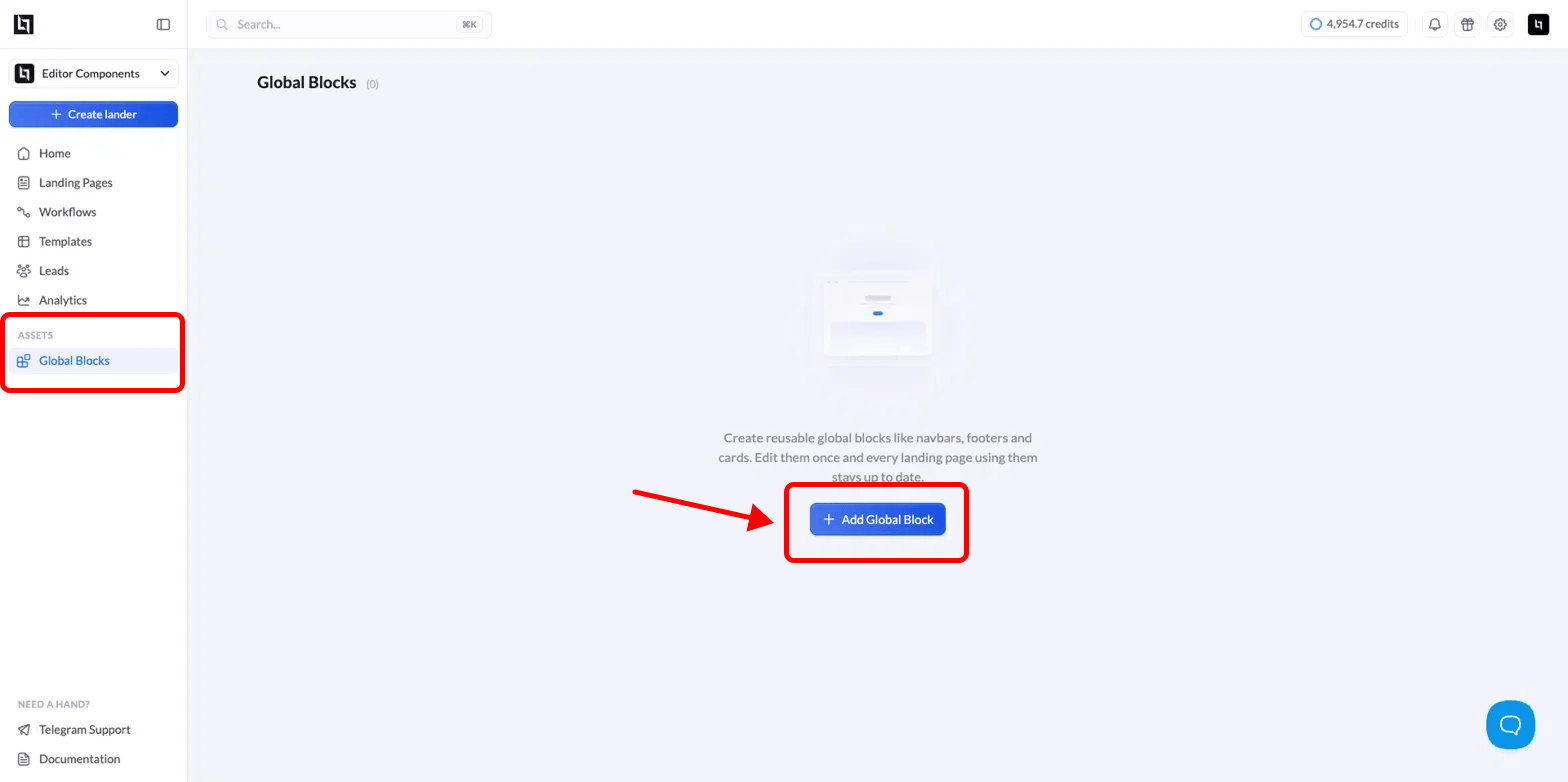
In the left sidebar, under **Assets**, click **Global Blocks**, then click **Add Global Block**.
 You are taken to the **Create a global block** screen. From here you can:
* **Describe it and let AI build it.** Type what you want in the prompt box, for example a sticky navbar with a logo, links, and a CTA button.
* **Pick a preset.** Choose a starting point like **Navbar**, **Footer**, **Testimonials**, **FAQ section**, or **CTA banner**.
* **Create From Scratch.** Click **Create From Scratch** to build the block yourself in the editor.
You are taken to the **Create a global block** screen. From here you can:
* **Describe it and let AI build it.** Type what you want in the prompt box, for example a sticky navbar with a logo, links, and a CTA button.
* **Pick a preset.** Choose a starting point like **Navbar**, **Footer**, **Testimonials**, **FAQ section**, or **CTA banner**.
* **Create From Scratch.** Click **Create From Scratch** to build the block yourself in the editor.
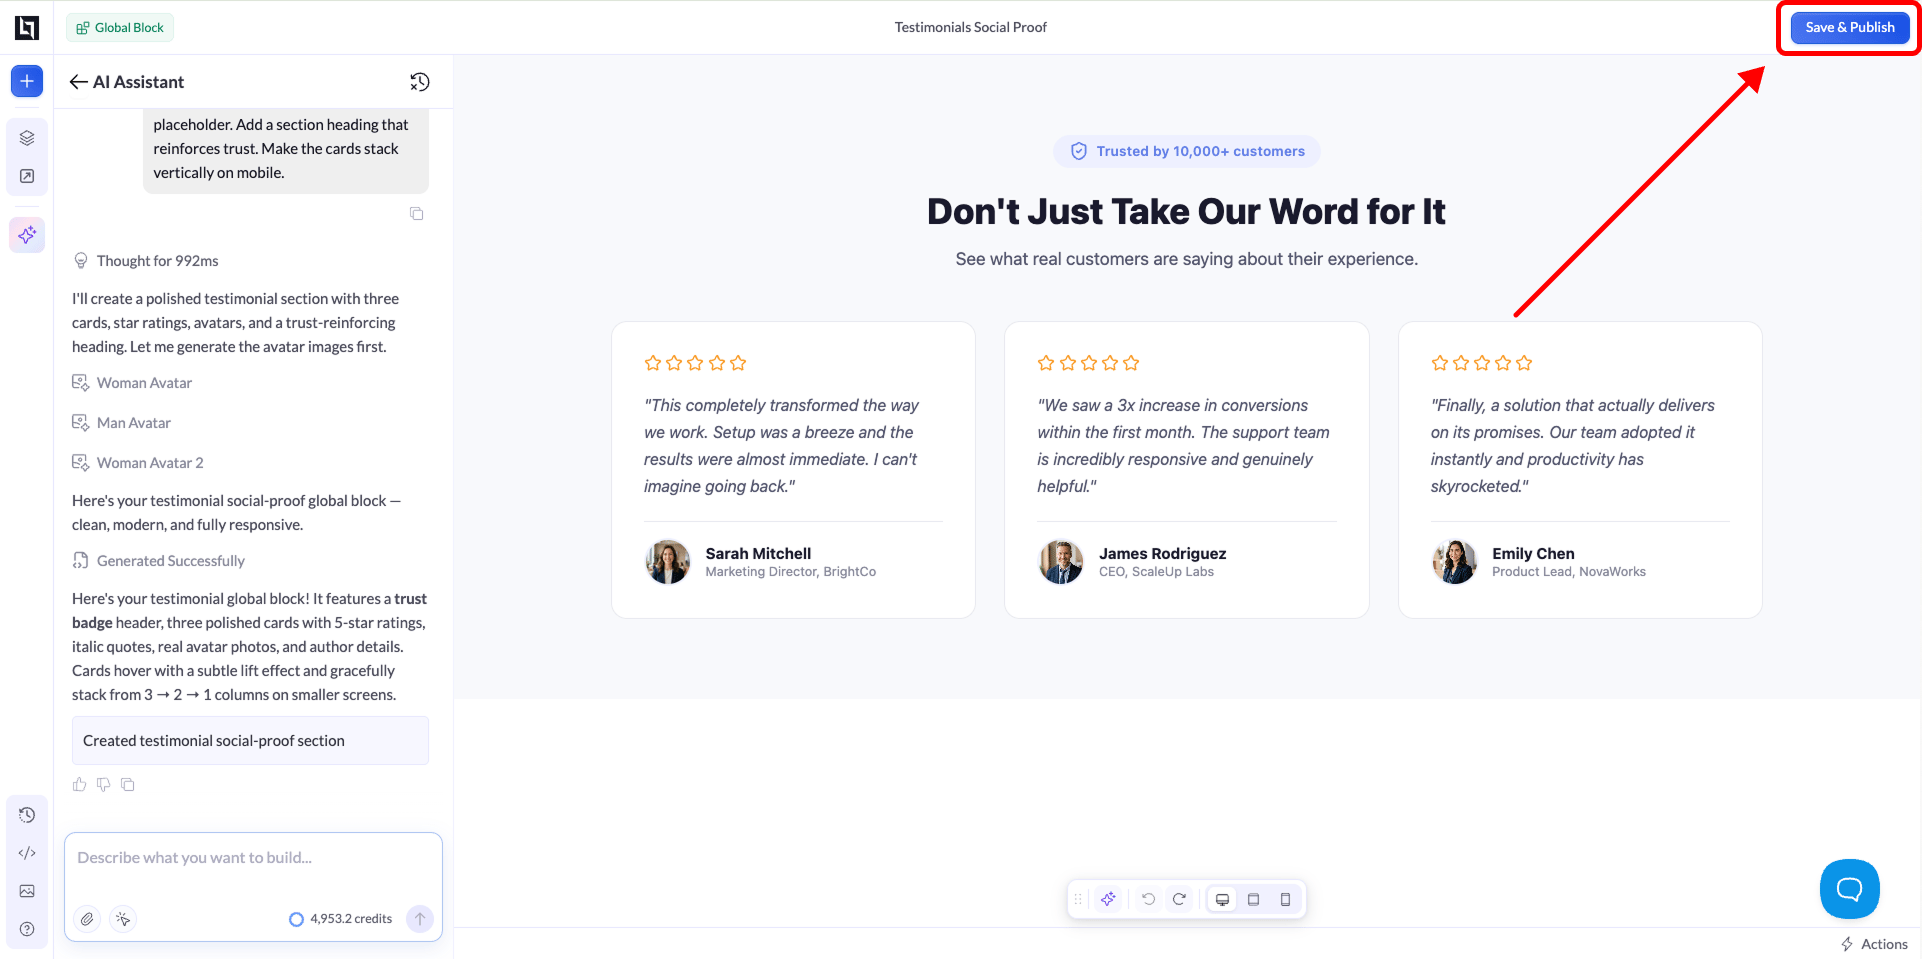
 Once the block is generated, keep iterating with the **AI Assistant** or edit it by hand in the editor, exactly like you would on a normal page. Adjust the copy, links, images, and styling until it looks the way you want.
When you are happy with it, click **Save & Publish**. Your global block is now ready to drop onto any landing page.
Once the block is generated, keep iterating with the **AI Assistant** or edit it by hand in the editor, exactly like you would on a normal page. Adjust the copy, links, images, and styling until it looks the way you want.
When you are happy with it, click **Save & Publish**. Your global block is now ready to drop onto any landing page.
 For affiliate and paid traffic campaigns, put your offer link inside a global block. Swapping offers later becomes a one-click change across every page instead of a manual edit on each lander.
## How to update a global block
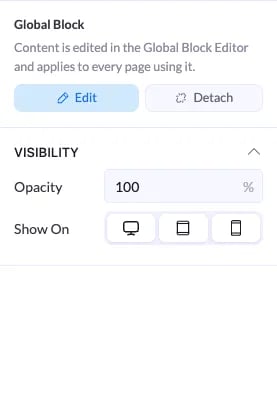
Updating works the same way as building it. Open the global block in the editor, make your changes by hand or iterate with the **AI Assistant**, then click **Save & Publish**. The update applies automatically to every page where the block is used, so you never have to edit each page one by one.
Editing a global block changes it on every page where it appears. If you need a version that is different on just one page, use a regular saved component instead so your change stays local to that page.
For affiliate and paid traffic campaigns, put your offer link inside a global block. Swapping offers later becomes a one-click change across every page instead of a manual edit on each lander.
## How to update a global block
Updating works the same way as building it. Open the global block in the editor, make your changes by hand or iterate with the **AI Assistant**, then click **Save & Publish**. The update applies automatically to every page where the block is used, so you never have to edit each page one by one.
Editing a global block changes it on every page where it appears. If you need a version that is different on just one page, use a regular saved component instead so your change stays local to that page.